
1. Login in to Applicare console and navigate to the Download Agents screen.
2. Copy the SingleAgentWindows - Powershell Installer command.
3. On the target machine where agent will be deployed. Open PowerShell in administrator mode, navigate to any one root directory, paste the copied command, press Enter.
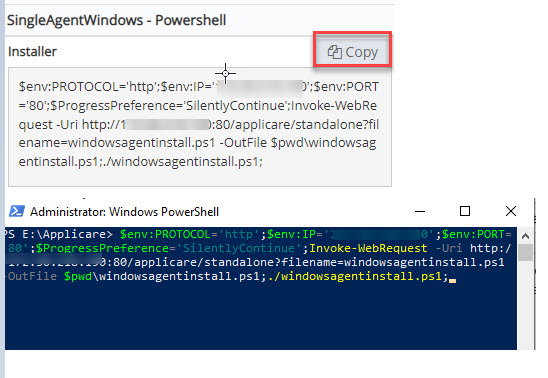
4. Select option "1".
SingleAgent will be installed as a task and will start automatically. To view the task, open Task Scheduler and expand the Task Scheduler Library, and select the ApplicareAgent folder. You will see five task listed there.
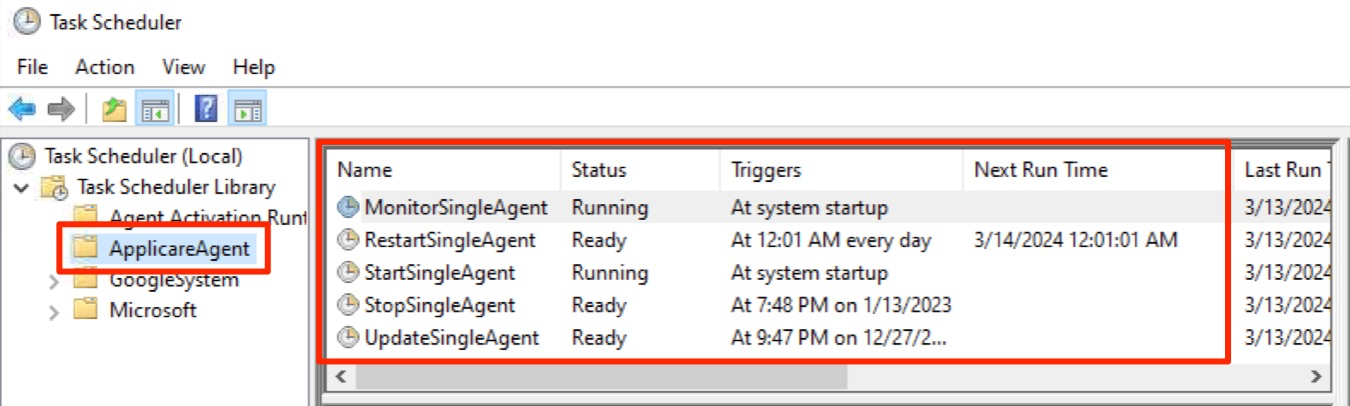
- SingleAgent - Run this task to start the SingleAgent. After installation, the agent will automatically be in a running state.
- StopSingleAgent - Use this task to stop the SingleAgent.
- RestartSingleAgent - Execute this task to restart the SingleAgent.