
Windows
1. Open Services application and stop the MySQL service.
2. Navigate to the directory C:\ProgramData\MySQL\MySQL Server <version>.
3. Create a backup of the current my.ini file.
4. Launch notepad as an administrator, then go to File -> Open and select the C:\ProgramData\MySQL\MySQL Server <version>\my.ini file.
5. Comment out the existing sql-mode line and add the new sql-mode line as specified.
sql-mode="STRICT_TRANS_TABLES,NO_ENGINE_SUBSTITUTION"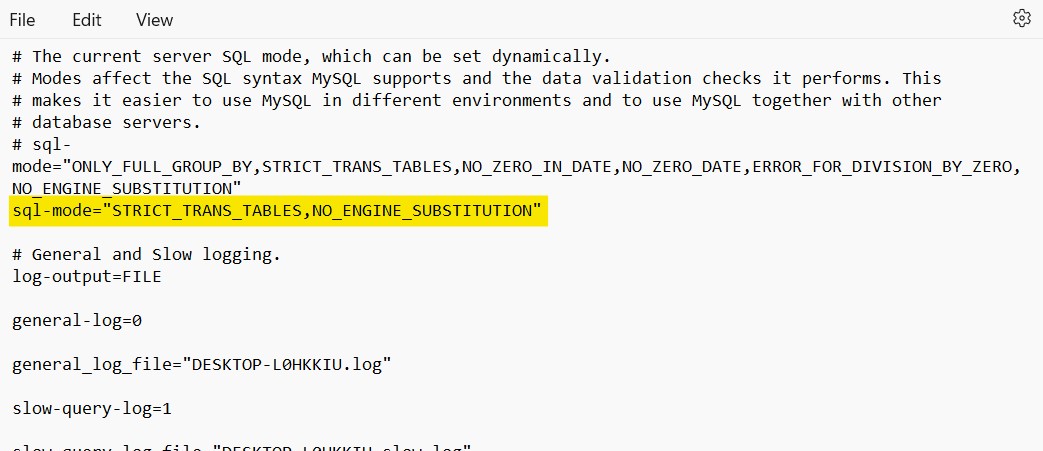
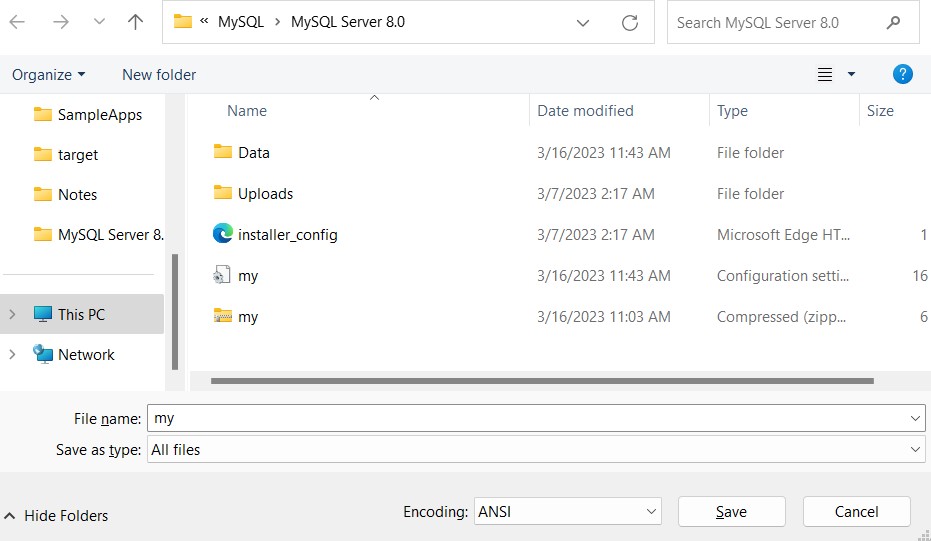
6. Go to File -> Save as
- Change Save as type to All files.
- Change Encoding to ANSI.
- Click Save.
7. Open the Services application and start the MySQL service.
Linux
1. Stop the MySQL service.
2. Backup of the existing my.cnf or my.ini file.
3. Locate the MySQL configuration file: The file is typically named my.cnf or my.ini and can be found in the MySQL installation directory or the etc directory. Use the following command to search for the file.
sudo find / -name my.cnf4. Open the MySQL configuration file: Once located, open it with a text editor.
5. Comment out the existing sql-mode line and add the following sql-mode line.
sql-mode="STRICT_TRANS_TABLES,NO_ENGINE_SUBSTITUTION"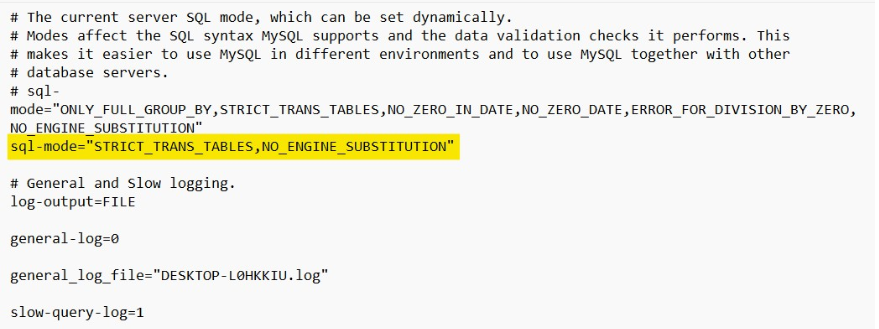
6. Save the changes to the configuration and start the MySQL services.
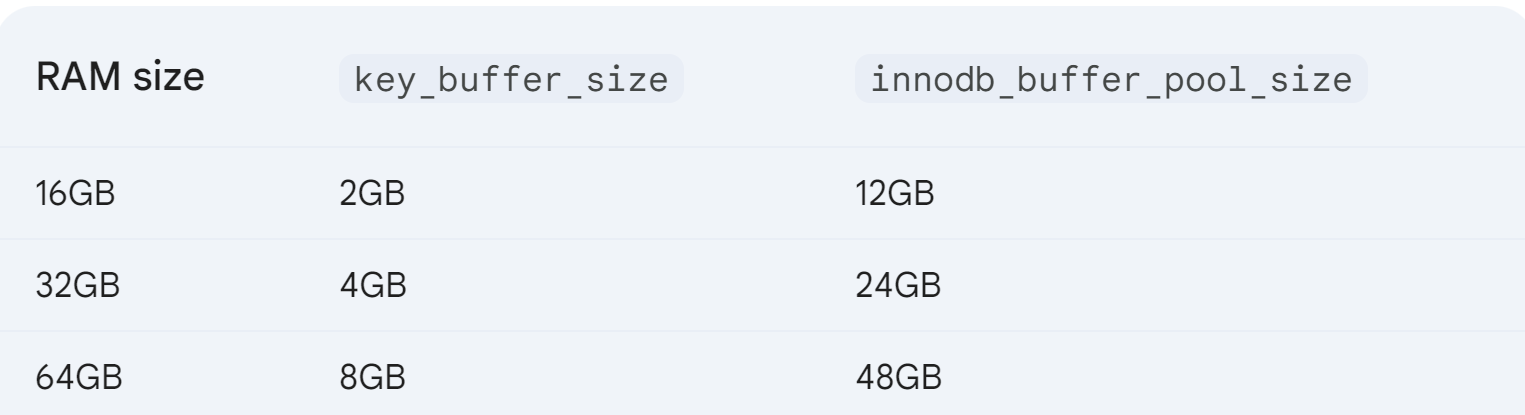
In production environments and when the expected data is huge, it is recommended to increase memory for mysql.
key_buffer_size innodb_buffer_pool_size
When a separate machine is dedicated to the MySql then we can set these values in the range as below.
7. The user which we create should have all the privileges.
Syntax: GRANT ALL PRIVILEGES ON *.* TO 'username'@'%' IDENTIFIED BY 'password'; FLUSH PRIVILEGES;
Example: GRANT ALL PRIVILEGES ON *.* TO 'root'@'%' IDENTIFIED BY 'testuserpass'; FLUSH PRIVILEGES;