
Currently, Applicare supports profiling only .NET applications hosted on IIS in Windows.
Follow these steps to configure .NET agent with SingleAgent.
Steps 1: Follow the steps for installing Applicare SingleAgent .
Do not start the agent immediately after installation. You will need to start it later.
Steps 2: Navigate to SingleAgent extracted directory.
Steps 3: Edit the startAgent.bat file.
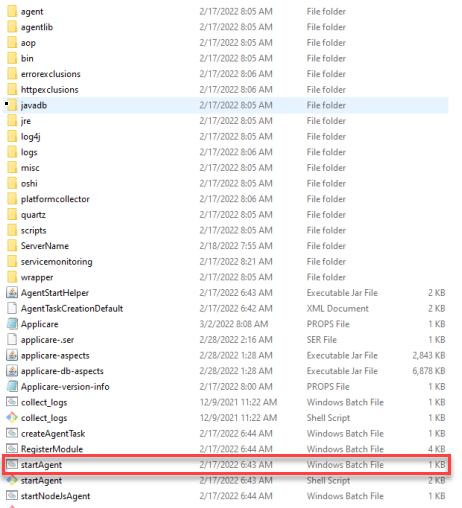
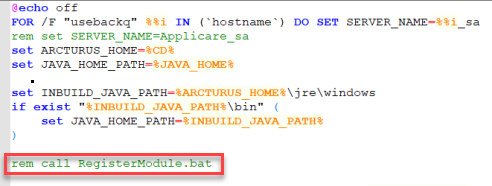
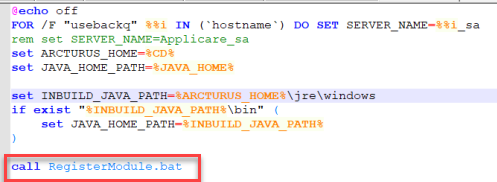
Steps 4: In the startAgent.bat file, remove the rem that precedes the call RegisterModule.bat line and save the change.
Before editing the file:
After editing the file:
Steps 5: Start Singleagent.
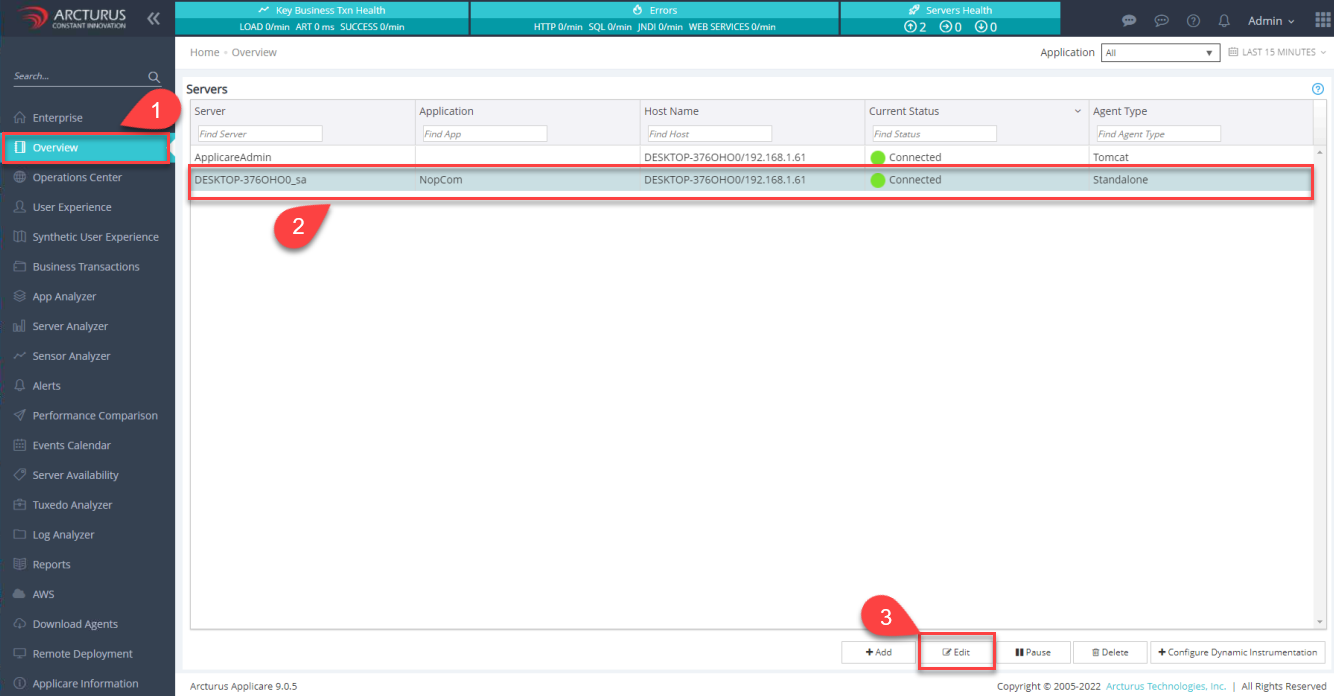
Steps 6: Log in to the Applicare console, navigate to the Overview screen, select the agent, click the Edit button.
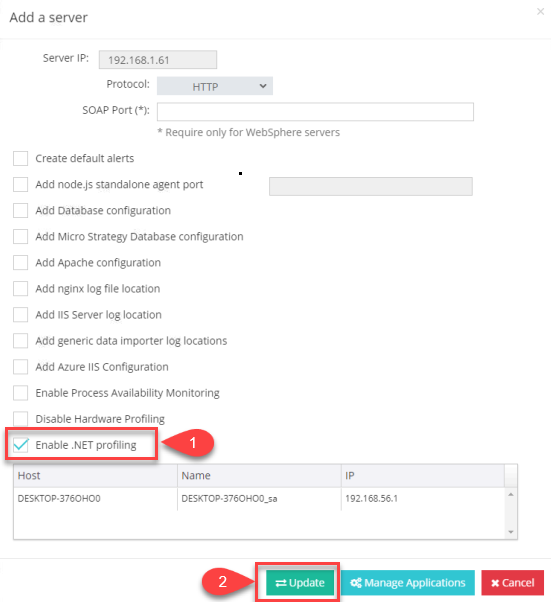
Steps 7: When the "Add a server" popup window appears, check the box for "Enable .NET profiling" and click the Update button.
Another steps to install Dotnet agent.